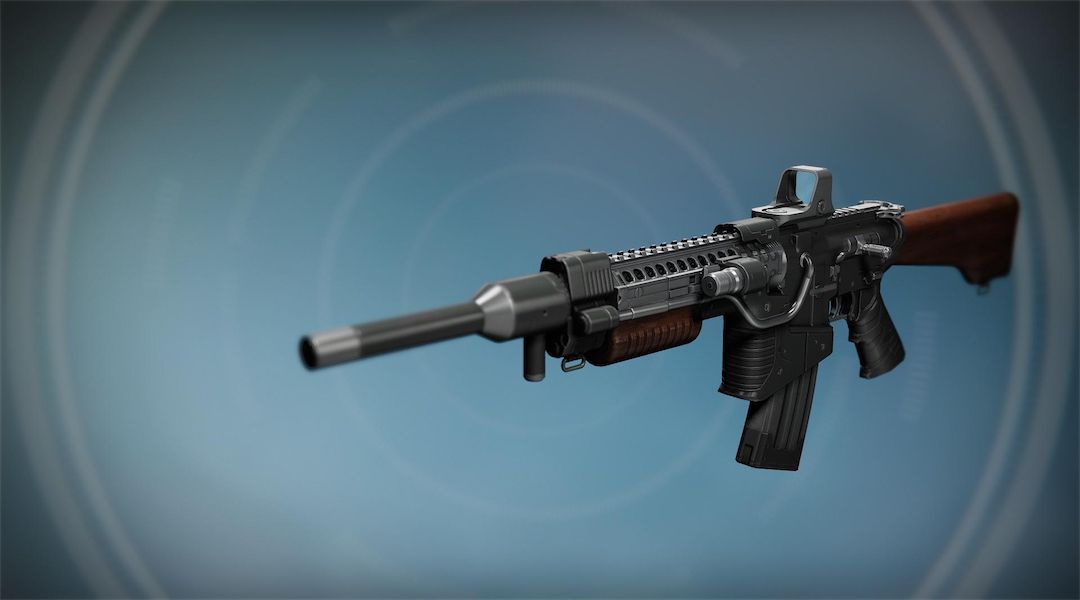
Destiny: Rise of Iron – Exotic Khvostov Mission Guide
By Kyle Sledge 19 September 2016
With Destiny‘s latest expansion Rise of Iron bringing back the Khvostov 7G-0X, Guardians can get a head start to obtain the Exotic with this helpful guide!
Now that Destiny: Rise of Iron is officially live, Guardians are assuredly excited to begin their journeys to obtain the expansion’s full set of Exotic weapons. Of course, ever since the DLC was officially revealed a while back, most fans are well aware of Bungie’s decision to reincorporate the popular rocket launcher known as the Gjallarhorn by way of its own quest, but some may be more eager to reclaim the newly minted Exotic Khvostov 7G-0X, which was at one point everyone’s first gun within the action-RPG.
While once being a plain automatic rifle, Destiny: Rise of Iron‘s version of the Khvostov 7G-0X has changed it into much more than that, as it is now offers the options of being fired as either a scout rifle, a pulse rifle, or an auto rifle. Of course, getting the gun won’t be a cakewalk for everyone, so Guardians can follow along with the rest of this guide in order to get a head start on the mission to eventually wield the Exotic.
Get the Schematic

For starters, Guardians have to start out on the “We Found a Rifle” quest, and if players kept their original version of the automatic weapon from vanilla Destiny two years ago, it can be begun by dismantling the rifle to get the Khvostov 7G Schematic. Once that is done, Guardians can head over to Shiro-4 at Felwinter Peak to officially accept the mission, which will require fans to then find 10 manual pages and 3 Khvostov parts.
Should players have not kept their original Khvostovs, it’s still possible to get the mission, but there’s the possibility of it taking longer. Those fans will need to make their way toward Patrol in the Plaguelands and kill a Hive Brood Mother that drops a Splicer Intel Relay which provides instructions to go to the Breach, board the Ketch, and kill a Pilot Servitor. After doing so, Guardians will be able to open a chest to get their hands on the Exotic’s schematic.
Obtain the Parts
Whether dismantling original Khvostovs for the schematic or getting it by way of the chest, in order to get the three Khvostov Parts, players will have to be diligent and scour the Plaguelands, as well as Rocketyard. Of course, rather than move around without a sense of where to go for the gun’s pieces, fans can get a better and more exact idea of where to find them in the series of the screenshots found further below, with all of the parts except its base appearing as triangles similar to patrol missions on the map.
First, go to the Plaguelands and head to the first-ever spawn point — that is, where Guardians’ Ghosts initially find them — and one will be inside the ship. After that, players can discover a part under some stairs near their first ship to finish a new character mission. Then, one can be found when going through Rocketyard towards the Sepiks strike.


Finish the Mission
Beyond picking up all of the Khvostov 7G-0X’s parts, Guardians will be able to collect all of the required manual pages by killing various splicers. After that, players can open up the next step in the quest called “A Khvostov Rising.” Finally, fans will just need to carry out the rest of the mission, and the gun will eventually be obtained in no time flat, as it should drop at 350 Light.
Of course, once Guardians get their mitts on the Khvostov 7G-0X, there’s still plenty more to do in Rise of Iron. For instance, aside from Khvostov, there are plenty of other Exotic weapons to receive, such as the expansion’s recent inclusion of the machine gun known as Nemesis Star. Not to mention, with the Wrath of the Machine raid set to drop soon, fans will need to start prepping their characters in order to hit the recommended Light Level. Surely, though, having the Khvostov handy now will assist players in achieving both of those tasks.
Destiny: Rise of Iron is out now for PlayStation 4 and Xbox One.
